
Concealer Placement 101: Which Areas to Highlight
Preparing the Skin for Concealer Application
Before you even think about where to put concealer, it’s crucial to prepare your skin. This ensures that your concealer blends seamlessly and stays put throughout the day. So, let’s dive into how to create the ideal base for your concealer application.
Choosing the Right Moisturizer and Primer
Your skin care routine plays a big part in concealer application. Start by selecting a moisturizer that suits your skin type. If you have dry skin, opt for a hydrating cream. For oily skin, a light, oil-free lotion works best. This step helps prevent the concealer from caking. After moisturizing, apply a primer. This will help to keep your makeup in place. Look for primers that address your specific skin concerns, like redness or large pores.
Importance of a Smooth Canvas
A smooth base is key for concealer to do its job well. Use a gentle exfoliator to remove dead skin cells and reveal a smoother surface. Follow with a good moisturizer to hydrate and plump your skin. This step will help your concealer glide on more easily and stay flawless. Pay special attention to the under-eye area; it should be well-moisturized to minimize creasing. With a perfectly prepped canvas, you’ll be ready to apply your concealer flawlessly and enhance your desired areas.
Picking the Right Shade
Choosing the right shade of concealer is crucial for a flawless finish. The color you select can make or break your overall makeup look. At first glance, this might seem simple. But with a plethora of concealer shades available, it gets tricky. Your choice should reflect the concealer’s purpose in your makeup routine.
Determining the Purpose of Concealer Use
Start by asking yourself why you need concealer. Is it to cover dark circles, hide blemishes, or brighten certain areas? Perhaps you’re looking to contour. Each goal demands a specific shade. Lighter shades can highlight, while darker tones define and contour. Knowing your goal will guide you to the perfect hue.
Matching Skin Tone and Undertones
A natural look requires a match with your skin tone. Check your undertones – are they warm, cool or neutral? Yellow or orange tones suit warmer skin, pink tones match cooler skin. A well-matched concealer blends in smoothly, avoiding any ashy or overly bright patches.
Using Different Shades for Different Areas
Different face areas require different shades. For under-eyes, opt for a shade lighter to illuminate. For spot treating, match your skin closely. Looking to sculpt? Go two to three shades darker. It’s all about strategic application to enhance and perfect your complexion.
Selecting the Appropriate Formula
When picking a concealer, it’s key to think about the formula that suits you best. Your skin type and coverage needs play a big role in whether you should go for a liquid or stick formula. Both have their pros and cons, but choosing the right one can make a world of difference in your makeup routine.
Liquid vs. Stick Concealers
Liquid concealers are great for building coverage and blend well. They’re suitable for dry to combination skin types as they have a hydrating effect. Many makeup artists reach for liquids to achieve a natural look. On the other hand, stick concealers offer full coverage and are ideal for targeting specific areas. They work well for oily skin as they tend to stay put longer and are less likely to slide.
Coverage Needs and Skin Type Considerations
Your coverage needs will determine which concealer you’ll choose. If you’re looking to hide dark circles or large areas of discoloration, a liquid concealer might be best. It’s easier to layer and won’t cake. For hiding blemishes or precise application, a stick concealer is your friend. Think about your skin type too. If you have oily skin, look for formulas that control shine. For dry skin, hydrating ingredients in concealers are a must to avoid flaking.

Application Order
When applying makeup, the sequence matters as much as the products you use. Mastering the order of application can significantly enhance your makeup’s effectiveness and longevity. Let’s explore why certain products should be applied before others, especially when it comes to foundation and concealers.
Why Foundation Should Come First
Applying foundation before concealer is a strategic move for several reasons. Foundation creates a uniform base, evening out your overall skin tone. This step reduces the amount of concealer you might think you need. By layering concealer over foundation, you can use a lighter hand, targeting only areas that require extra coverage. This method helps prevent a heavy, caked-on look and ensures your concealer blends seamlessly into your foundation.
Additionally, the foundation-first technique allows you to assess which areas need more attention, making your concealer more effective. It conserves your concealer too, as targeted application means less product used, which is especially beneficial for high-quality or costly concealers.
Spot Treating with Concealer
After your foundation is set, move on to spot treating with concealer. This is where precision comes into play. Use a small brush or fingertip to apply concealer directly onto blemishes, dark spots, or any imperfections that peek through the foundation layer. By spot treating, you maintain the natural beauty of your skin by covering only what’s necessary.
The key is blending carefully and avoiding over-application. Gently tap the concealer onto the spot and blend outward for a flawless finish. This technique ensures that the product stays put and maximizes coverage without affecting the surrounding skin area.
Following this application order not only optimizes your concealer’s capabilities but also results in a more natural, appealing look. It’s a simple yet effective method to enhance your makeup routine.

Blending Techniques
Achieving that flawless finish with concealer is all about blending.
Tools and Methods for Natural Finish
For a natural finish, the tools you pick are important. Use your fingertips or a damp beauty blender. These tools help to distribute the product evenly. Blending with fingers warms up the concealer, making it easier to spread. A beauty blender absorbs excess product, preventing cakiness. Brushes are good for precision. Use them for spot concealing. Remember, the less product you use, the more natural it looks.
Blending for Under-eye and Blemishes
To blend under-eye concealer, start from the inner corner. Gently pat and spread outwardly. Don’t drag the skin. This could cause lines. For blemishes, dab a small amount onto the top. Then, lightly tap around the edges to blend. This method hides spots without wiping away the concealer. Always blend into the surrounding skin for a seamless look.
Strategic Concealer Placement
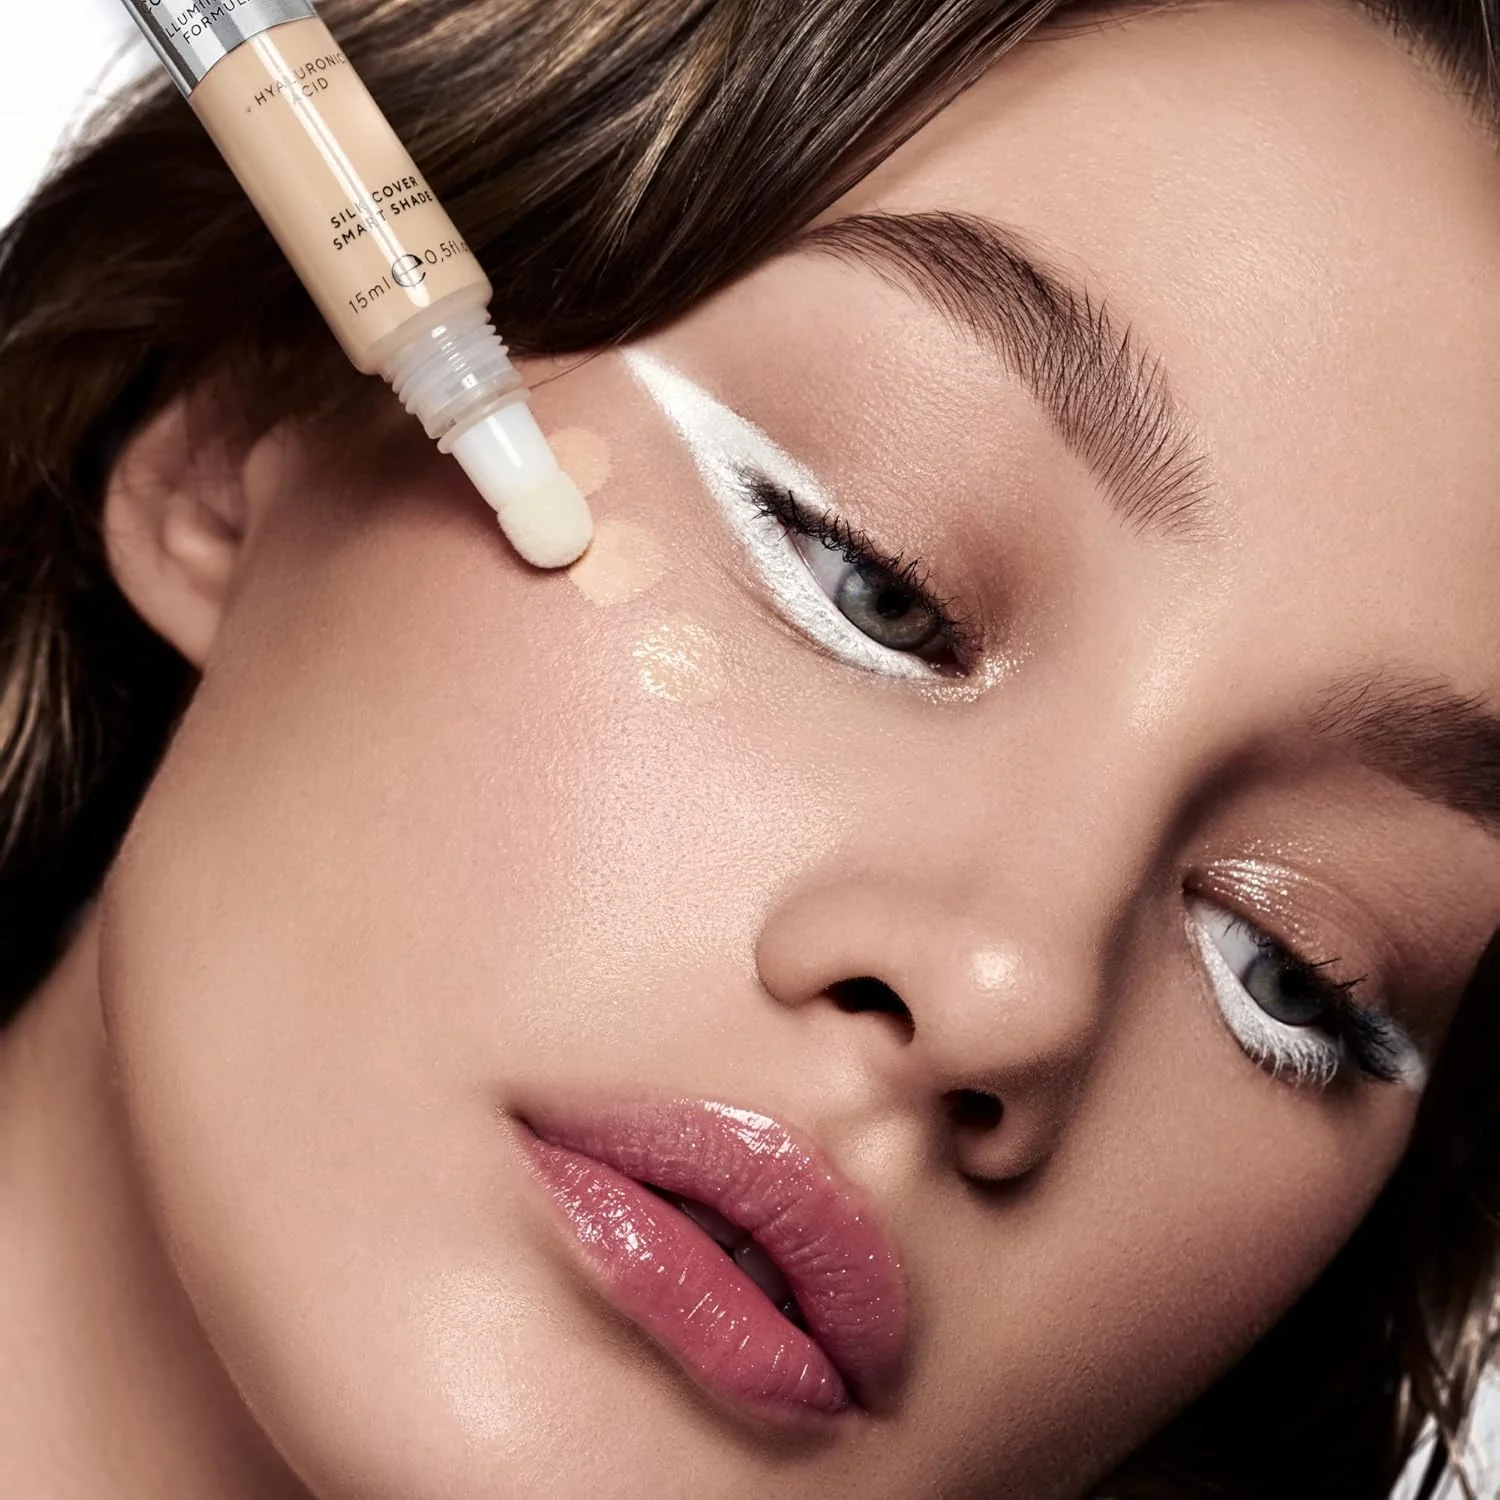
Know where to put concealers to boost your makeup’s impact. Proper placement can camouflage imperfections, illuminate your face, and even shape your features without the need for a lot of products.
Illuminating the Under-eye Area
To brighten dark circles, choose a lighter shade of concealer. Tap it gently from the inner corner of your eye, blending outward. This highlights and awakens the entire eye area.
Sculpting and Contouring with Concealer
For defined cheekbones or a slender nose, use a concealers two shades darker. Apply beneath your cheekbones, along the sides of your nose, or on your jawline. Blend well for a natural shadow effect.
Spot Concealer for a No Makeup Look
Address blemishes or red spots with a concealer matching your skin tone. Dab on, then blend lightly. This maintains a flawless look, letting your real skin shine through.
Using Concealer as an Eyeshadow Primer
Sweep a thin concealers layer over lids for a crease-free eyeshadow base. It brightens your eye area, and shadows will appear more vibrant and last longer.
Setting Your Concealers
After you apply and blend your concealers, setting it is vital for lasting wear. Setting your concealer helps to lock in your makeup, reduce shine, and extend the longevity of your look.
Reducing Shine and Increasing Longevity
To keep your concealers matte and in place, use a setting powder. Choose a powder that looks natural on your skin. Lightly dust it over the areas where you applied concealer. This step is key for oily skin types, as it helps to control shine throughout the day. For under the eyes, press the powder gently to set without adding texture.
Choosing the Right Setting Powder
Select a setting powder that complements your skin. If you have dry skin, look for a hydrating formula. For oily skin, opt for a mattifying variant. Pick a powder that does not alter the color of your concealers. Use a fluffy brush for a light application. Focus on areas prone to creasing or shine for best results.

